
Dairy-free / Gluten-free / Sugar-free + Vegan
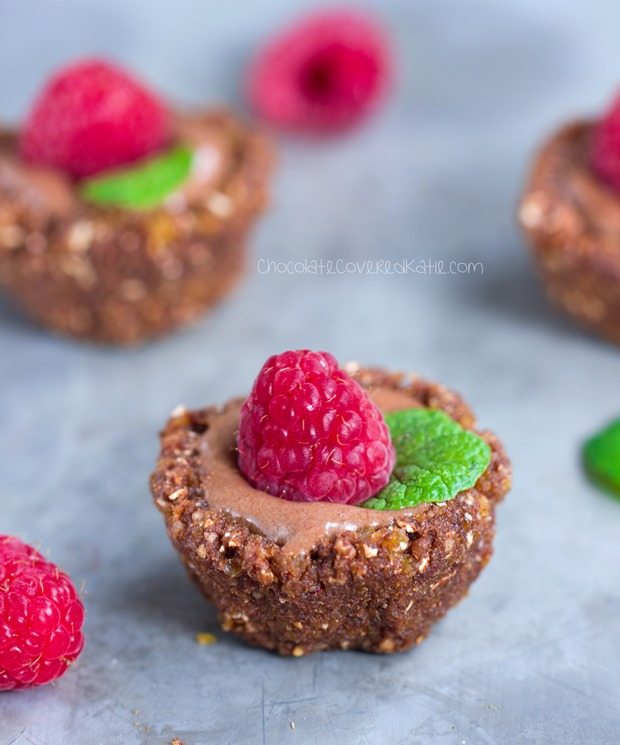
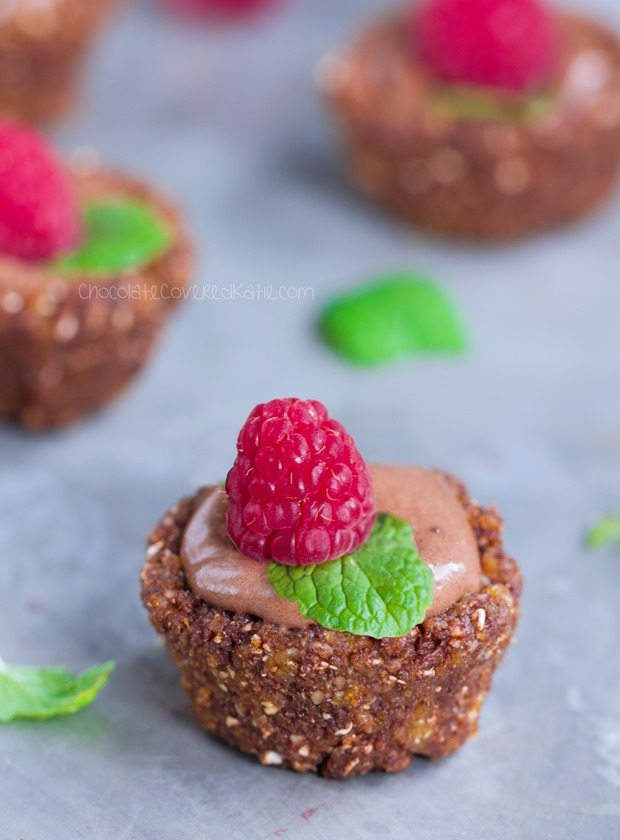
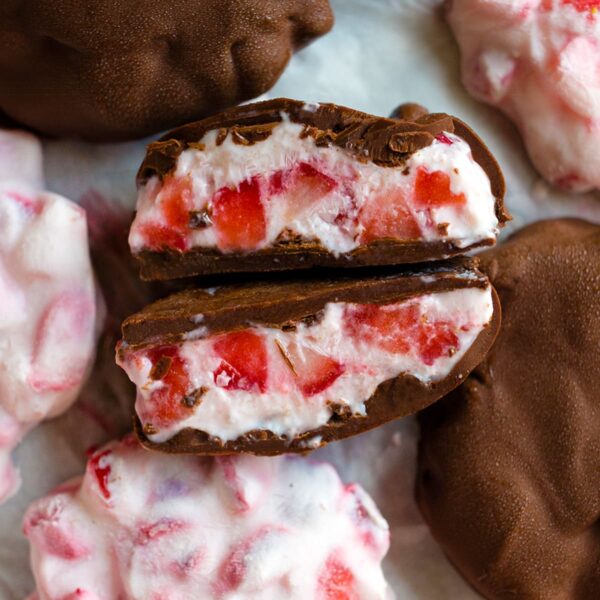
Ultra creamy and chocolatey, these bite-sized frozen confections are both completely irresistible and completely adorable!
(Adorasistible? Irresistorable?)
With just 7 ingredients, they’re also much easier to make than they may appear. High in fiber and magnesium, CalorieCount gave the recipe an A!

To make these even more simple, you can easily omit the raspberries and mint if you prefer.
I added them because I’m a sucker for anything raspberry-chocolate, and I’d bought a mint plant a few weeks ago that is now threatening to take over my apartment.
Seriously, I cannot use it fast enough… the leaves just keep growing back! Luckily, mint and chocolate pair very nicely together, so I don’t really mind the abundant supply. It’s made for some interesting recipe creations.
(Tomato-mint spaghetti sauce, anyone?)

I think my favorite part about these raw chocolate dessert tarts is the frozen chocolate “ice cream” filling.
It’s almost impossible to not eat all of the filling right out of the blender!

Raw Chocolate Banana Ice Cream Tarts
Raw Chocolate Banana Ice Cream Tarts
Ingredients
- 1 cup raw almonds (120g)
- 1 cup pitted dates (115g – about 15 small dates)
- 1/3 cup raw walnuts (30g)
- 1/3 cup cocoa or cacao powder (28g)
- 1/8 tsp salt
- 1 tbsp water
- 2 frozen over-ripe bananas blended with 2 tbsp cacao or cocoa powder, 1/4 tsp pure vanilla extract, and optional 2 tbsp coconut butter or avocado (For a banana free version, you can substitute Healthy Chocolate Pudding or your favorite chocolate ice cream recipe.)
Instructions
Combine the nuts, dates, 1/3 cup cocoa, and salt in a high-quality food processor. (Using a blender/vita-mix might work but may have trouble processing or be very sticky.) Process until fine crumbles form. Add no more than 2 tbsp water to achieve a slightly-sticky dough, then process again until it sticks together in one big ball. If it’s not yet sticky, simply process longer. Break off pieces with your hands and mold along the edges of mini muffin cups (or just free-form), pressing down in the middle to form a cup shape. Freeze at least 20 minutes or until ready to serve. Make the cream right before serving. There will be leftover cream, but I found it blended the most smoothly when making a full batch unless you have a very small food processor. Eat the extra filling in a bowl or straight from the food processor!
Link Of The Day:


Mint infused water is your answer. Nothing is more refreshing on a summer day!
These looks beyond delicious! I mean ice cream + tart shells equals amazing.
I am adding this on my to-make CCK recipes! I will probably try it with cashews instead of almonds though, and maybe chocolate cashew cream(?). When I get almonds, then I will try the almond version!
This sounds really, really good!
So I just made these except I am going to just eat them separately! Like you said, I liked the filling so much that I’m just eating it in a bowl. I crumbled some of the tart shells on top of the ice cream. It’s a different way than what you have here, but it’s DELISH!
These look so pretty and delicious!
OMG! These are adorbs! Have you thought of making a giant raw chocolate ice cream cake?
These treats looks so cute!
what a delicious treat! yum!
omg these look so cute and delish 🙂
https://aspoonfulofnature.wordpress.com/
Aww they’re so cute and look so delicious! 😀
Katie- thanks for the delicious recipe! Our sugar eating friend was shocked these were so healthy. I have a feeling I will be making these many times this summer.
These look so adorable and pretty! Love a healthy treat.
These mini pies look so adorable! Perfect dessert to try over the Summer.
These look so pretty!!!
Can you bake the crust? Curious if I could combine this crust recipe with your crust less pumpkin pie recipe?
I don’t see why not. Be sure to report back if you try!