
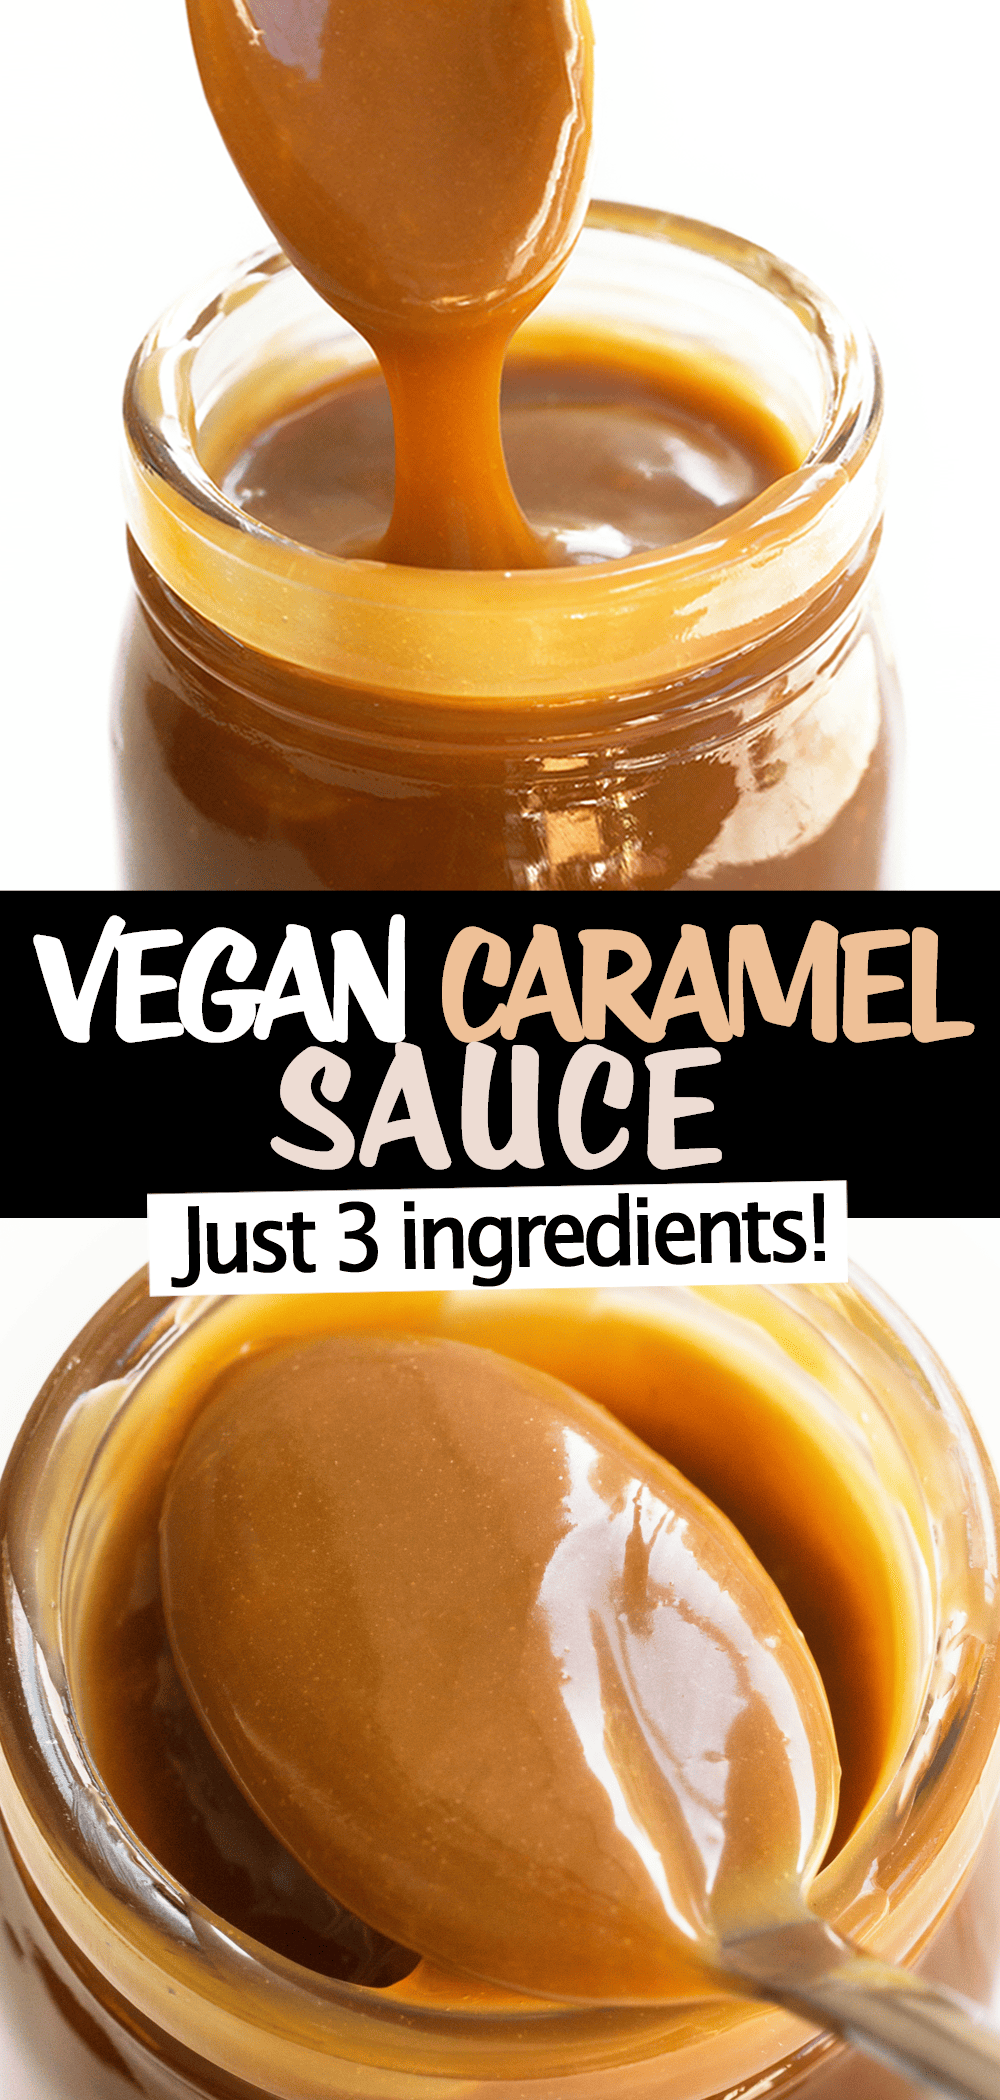
Did you know that you can easily make your own delicious vegan caramel sauce from a can of coconut milk?
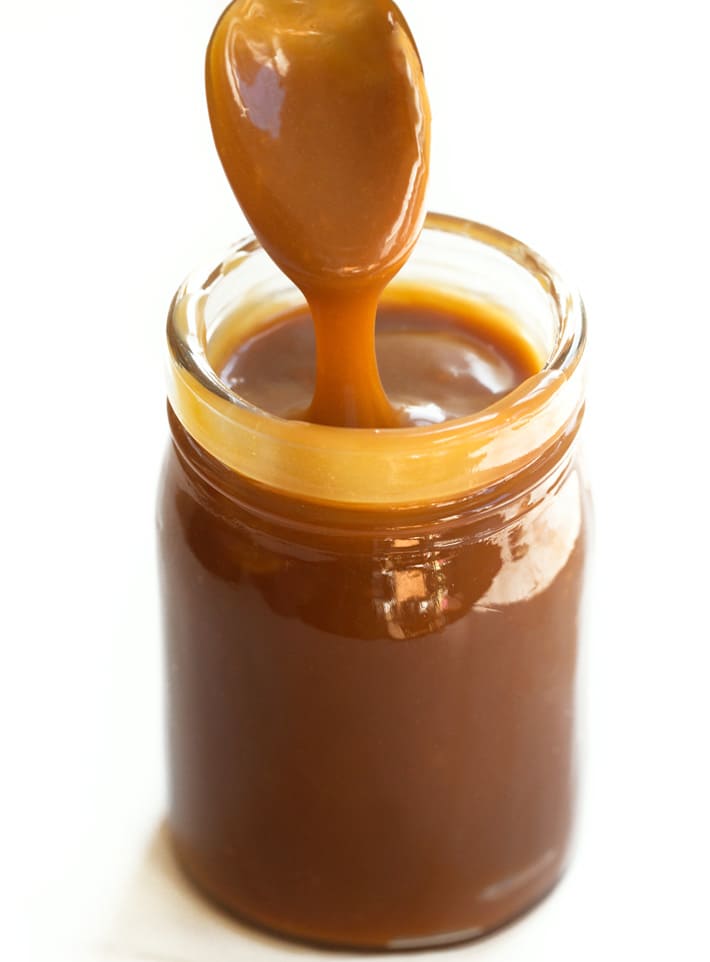

The best vegan caramel sauce
- You’ll fall in love with the thick, creamy texture.
- Naturally gluten free, egg free, and dairy free.
- Sweet, salty, and buttery flavor, made with just 3 ingredients.
- Absolutely no corn syrup and no vegan butter. You probably already have everything you need in the kitchen pantry to make it right now!
If you’ve been looking for an easy vegan caramel recipe that tastes just as decadent as traditional caramel, this is the one to try.
The coconut milk creates a smooth and silky sauce without heavy cream, while coconut sugar imparts a rich caramel flavor.
Unlike many other caramel sauce recipes, there’s no need for a candy thermometer or complicated techniques. And no dates or condensed milk here either.
It’s perfect for dipping fresh apple slices, pouring over ice cream, iced coffee lattes, and other vegan desserts, or eating straight from the jar with a spoon.
Try it on top of Healthy Apple Pie
Step by step recipe video
I had a can of coconut cream that needed to be used, so luckily, I came across this recipe. It turned out great!!! I have it sitting in my fridge now and am doing my best NOT to eat it all. Thank you so much for this amazing recipe!
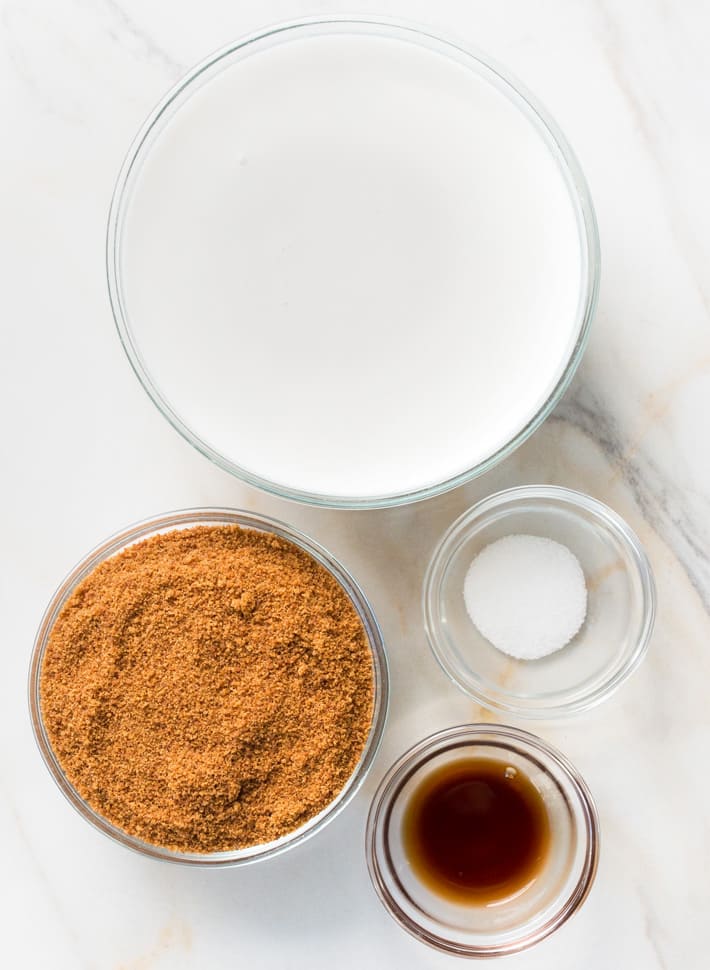
Vegan caramel ingredients
From caramel apples, to grilled pineapple, to ice cream, dessert will never be the same. All you need to make the simple vegan recipe are coconut milk, sugar, salt, and optional vanilla extract.
Coconut Milk: For the creamiest and thickest caramel dip, choose full fat canned coconut milk or coconut cream. Light coconut milk, almond milk, and oat milk are tasty but yield a much thinner consistency.
Coconut Sugar: This unrefined sugar gives the homemade caramel its beautiful golden brown color and a deep, almost toffee-like flavor. You can use white or brown sugar, or pure maple syrup or agave if you prefer. Xylitol works well for a sugar free caramel.
Salt: Include a fourth teaspoon of salt to balance the sweetness of the sugar, or increase to half a teaspoon for more of a vegan salted caramel taste.
Vanilla Extract (optional): A small splash of pure vanilla extract adds yet another layer of warm flavor. It’s important to stir in the vanilla after turning off the heat.

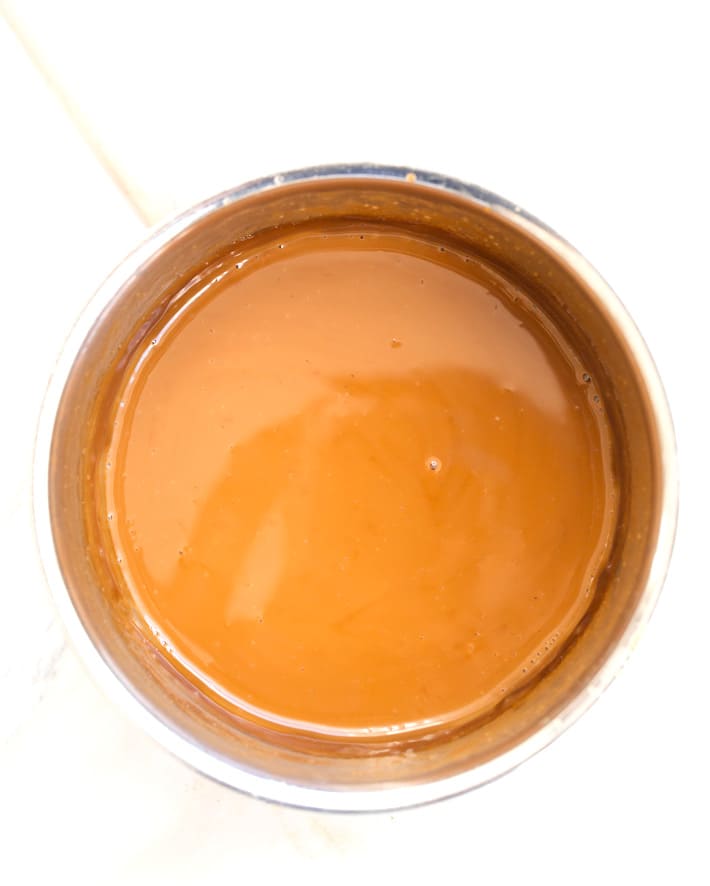
How to make dairy free caramel sauce
Step 1: Whisk ingredients. Add the entire can of coconut milk or coconut cream, coconut sugar, and salt to a medium saucepan. Turn the heat to medium, and whisk until sugar dissolves.
Step 2: Bring to a boil. Stir occasionally until the liquid begins to boil. Once bubbling, allow the mixture to boil for about five minutes, stirring constantly and watching to ensure it does not boil over. Trust me, sticky caramel sauce on your stove top is not fun to clean!
Step 3: Turn to low. Lower the heat to a simmer, and let the liquid cook down to about half its original volume, stirring as needed to prevent sticking. This step should take around forty to sixty minutes, and the caramel will look thick and lightly golden in color when finished.
Step 4: Add the vanilla. If using, whisk in the vanilla extract after removing the saucepan from the heat, to avoid burning the vanilla.
Step 5: Cool and store. Let the plant based caramel sauce cool fully before transferring it to a covered jar or container. Refrigerate until cold, during which time it will thicken even more.
Vegan caramel is delicious drizzled over a Frappuccino Recipe
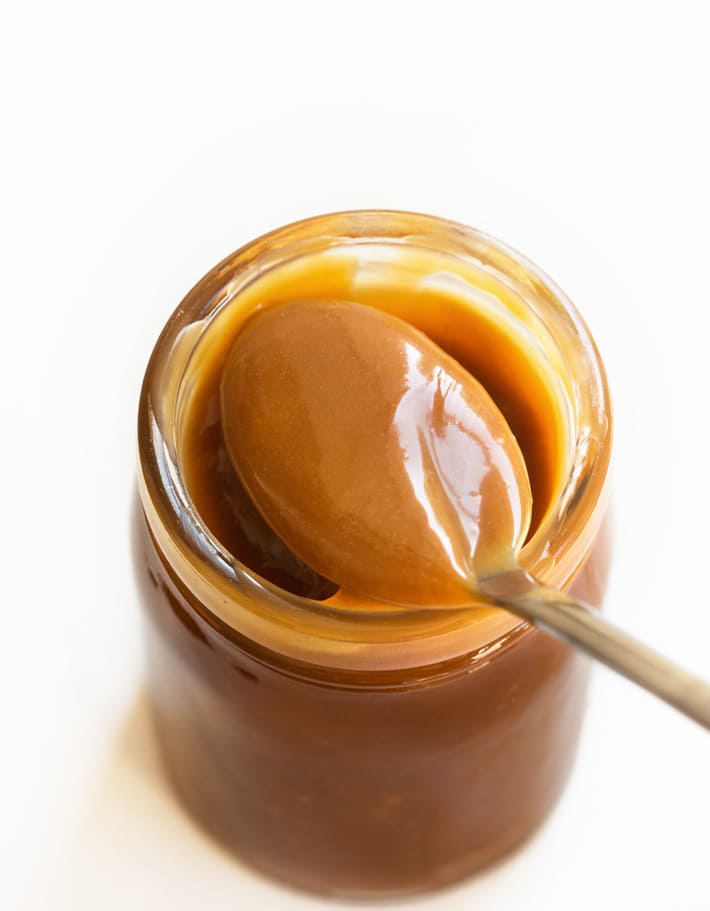
Coconut caramel FAQ
Not really. The finished sauce may possess a subtle coconut flavor, depending on the brand of coconut milk you use. However, the coconut sugar, salt, and vanilla do a great job of masking the coconut, and I rarely taste coconut when I make this.
You can absolutely use pure maple syrup or agave, and the vegan dessert sauce still thickens the same amount as with a granulated sweetener. I personally just think it tastes more like classic caramel when using coconut sugar. Completely your choice!
Light coconut milk contains more water, so you’ll get a much thinner sauce. If you do not mind, then yes it is fine to use light coconut milk or another nondairy milk.
If you are a fan of chocolate caramel, try the following variation of the recipe:
Simply whisk three tablespoons of sifted unsweetened cocoa powder into the coconut milk before heating on the stove top. It really is that easy.
Let the sauce cool, then transfer it to a mason jar or covered container. Store leftovers in the refrigerator for up to a week. Or freeze for up to three months and reheat in a saucepan. Note that the texture of thawed frozen caramel will never be as creamy.
The recipe below gives you a thick sauce that’s good for drizzling or spreading. It will not work to create hard vegan caramels.
It does work on caramel apples if you cook the caramel until it is super thick, not thin and runny. Wash the apples with vinegar and water to remove the wax coating that would cause the caramel sauce to slip off. Then add two coats of vegan caramel and refrigerate until ready to eat.
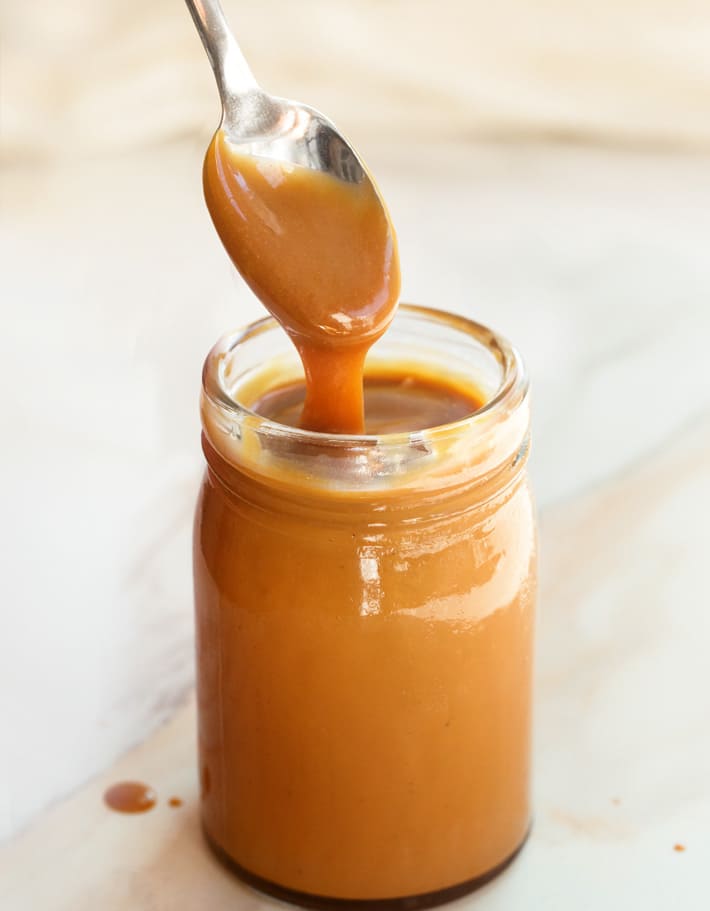
How do you get thick vegan caramel?
Be sure to use full fat coconut milk. Or choose coconut cream for even faster, thicker results.
If the sauce still looks thin after heating forty minutes, continue to simmer another twenty minutes or so. It will further reduce as the water evaporates.
Finally, chill the caramel in the refrigerator after cooling. Coconut milk caramel thickens as it sits. If time permits, refrigerate in a jar or container overnight for a perfectly thick, smooth sauce the next day.
Ways to use vegan caramel sauce
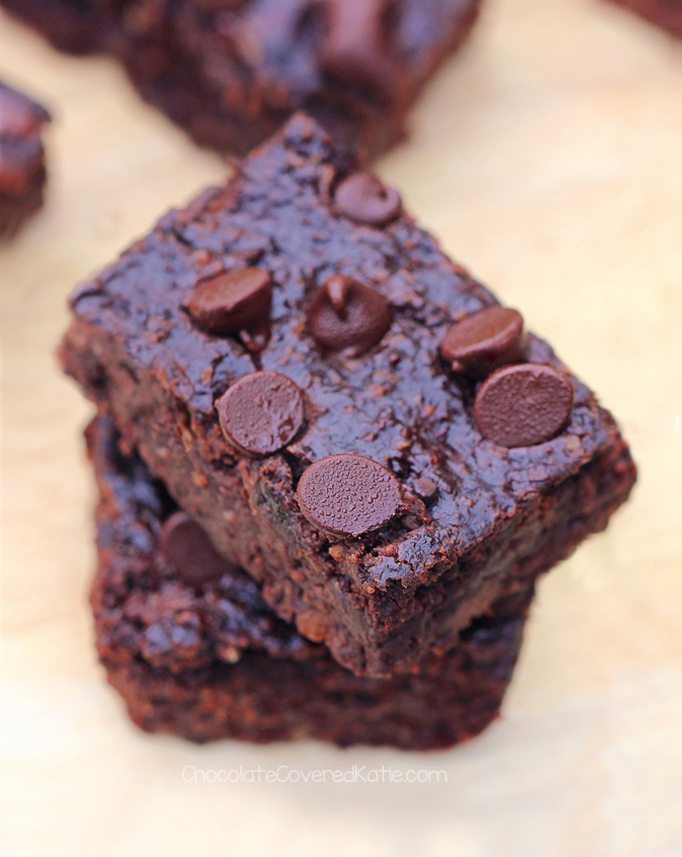
Drizzle it over nondairy frozen desserts, pancakes, waffles, oatmeal, brownies, or pretty much anything you can imagine. Below are four of my favorite uses for dairy free caramel.


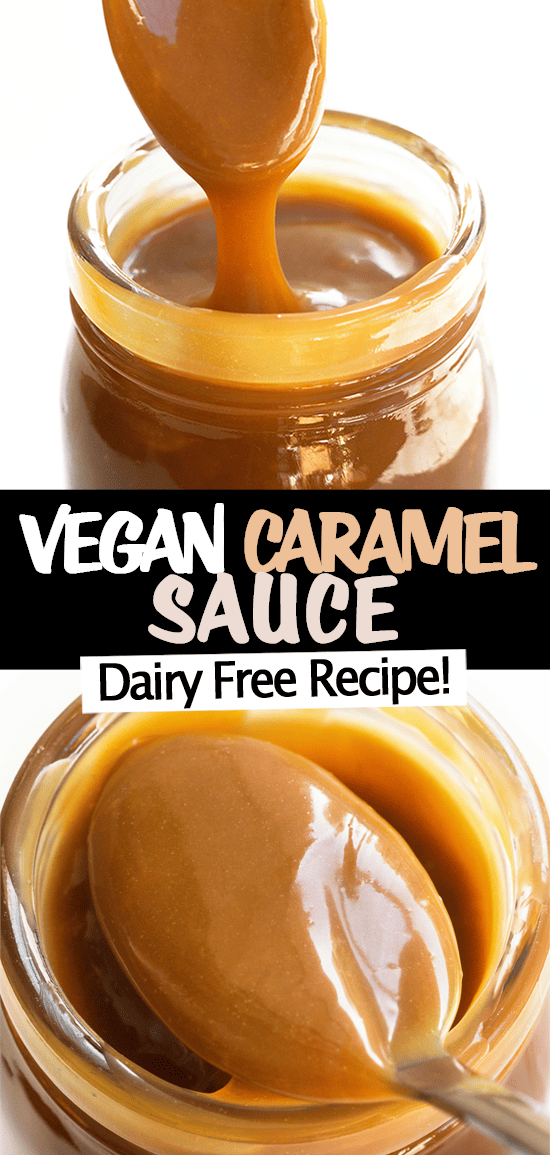
Vegan Caramel Sauce
Ingredients
- 13.5 oz full fat coconut milk or coconut cream
- 2/3 cup coconut sugar (95g) (pure maple syrup, agave, brown sugar, or xylitol also work)
- 1/4 tsp salt
- 1/2 tsp pure vanilla extract (optional)
Instructions
- 1. Stir canned coconut milk or coconut cream, sweetener, and salt in a saucepan over medium heat. Bring to a boil.
- 2. Once boiling, whisk continuously for 5 minutes. Watch the pot to make sure it does not boil over.
- 3. Turn the heat to a simmer, and cook 45-60 minutes or until the liquid thickens and reduces to about half its original volume. Stir occasionally during this time.
- 4. Remove the saucepan from the heat, then stir in the optional vanilla extract.
- 5. Let the vegan caramel sauce cool fully before transferring it to a covered container or jar. It is perfectly fine to use right away, or you can refrigerate overnight for a thicker texture.
Video
Notes
More homemade vegan desserts















Thank you for this recipy. Excited to try I did this yesterday. I added cane sugar and some mapple syrup. The color of mine was somewhat pale grey-brown (nothing like that sunny color in the photo) and the consistency was more like a pudding, than actual caramel sauce, which is sticky, isn’t it? Is it supposed to get sticky?
Oh my goodness…you are so “evil” 😀 I just made this tonight and it is so DELICIOUS!!! Can’t wait to make this again when my vegan son comes to visit. Do you have a chocolate sauce I’m unaware of too?
She does! This one is my favorite: https://chocolatecoveredkatie.com/2010/05/20/homemade-artisana-cacao-bliss/
Wanting to make this tomorrow, but only have lite coconut milk. Anyone used this instead of full fat? Wondering if it would still work?
Takes such a long time for such a small amount. Could use two cans of coconut milk – and use just the solid part of it -you would have more and not have to boil so long to reduce the liquid ?
I don’t see why not!
If I wanted to leave out the liquid sweeteners how much sugar would I use total?
The best i’ve ever tries!! Super delicious ?
I made this today. Whoa! The only problem will be refraining from eating all of it before it cools in the pan! Bravo on this. I added Earth Balance spread, and used the coconut sugar maple syrup combo. it is so amazing. You’re a sorceress.
Would this work to do dairy free caramel apples? We have a tot that can’t do any dairy.. caramel apples are a must! Lol
If you don’t want to use that much sugar, use starch instead. I’ve used 1 teaspoon of honey boiled with a little bit of water, it was basically my sugar syrup. Then added full fat coconut milk (85% coconut) and 1 tablespoon sago pearls.
It thickened up beautifully and tasted like proper caramel without any more additional sweetener.
Looks like one could use stevia etc. above post refers to xilitol and blackstrap molasses and seems pleased.
I just made this following the recipe exactly as described (except I added a tbsp of coconut butter instead of coconut oil at the end). Wow, this tastes amazing! I’m a fan of caramel and dulce de leche, and while the flavors are similar this is a little different–lighter in consistency and (at least to me) with a noticeable coconut taste. I love coconut so that is a plus. I simmered for 60 minutes and had no issues with burning or separation–it all turned out exactly as the recipe described. Now I’m planning on making this with variations by adding cinnamon, cardamom, cocoa powder… I might try this as a filling for cakes and cookies.
This worked perfectly in the Instant Pot. Thanks for the update!
Sandy,how did you cook the caramel in the instant pot? Would love to get the directions, since I just got an IP.
Thanks,
Andrea
I made this today, but I don’t think it worked. The color is very grey-brown and it didn’t thicken. It reduced but it’s very runny/watery. I seemed it for well over an hour. I let it cool on the countertop for awhile, and just put it in the fridge-hopefully that will thicken it. Not sure what went wrong. The caramel in Katie’s pictures is such a beautiful color and consistency – mine is nothing like that. I’ll try again sometime and hopefully have success.
*should say “simmered” not “seemed”
Hmmm what did your can of coconut milk look like before starting? Just like how some cans don’t have enough fat to work for coconut whipped cream, maybe this is the same and you got a bad can because it was too watery?
I was thinking to try it with a different brand of coconut milk. Maybe that will yield more pleasing results. Crossing my fingers for the next attempt. Thanks for the reply!
The fat separated on mine, didn’t blend when cooking or as its cooled and sat. Any ideas on what I did wrong?
This looks awesome. Can’t wait to try it over ice cream or scones or just with a spoon lol whatever comes first 🙂 Great pictures.
Thank you for sharing.